


Lan Su: How to adjust the light path of laser marking machine?
Lan Su: How to adjust the light path of laser marking machine?
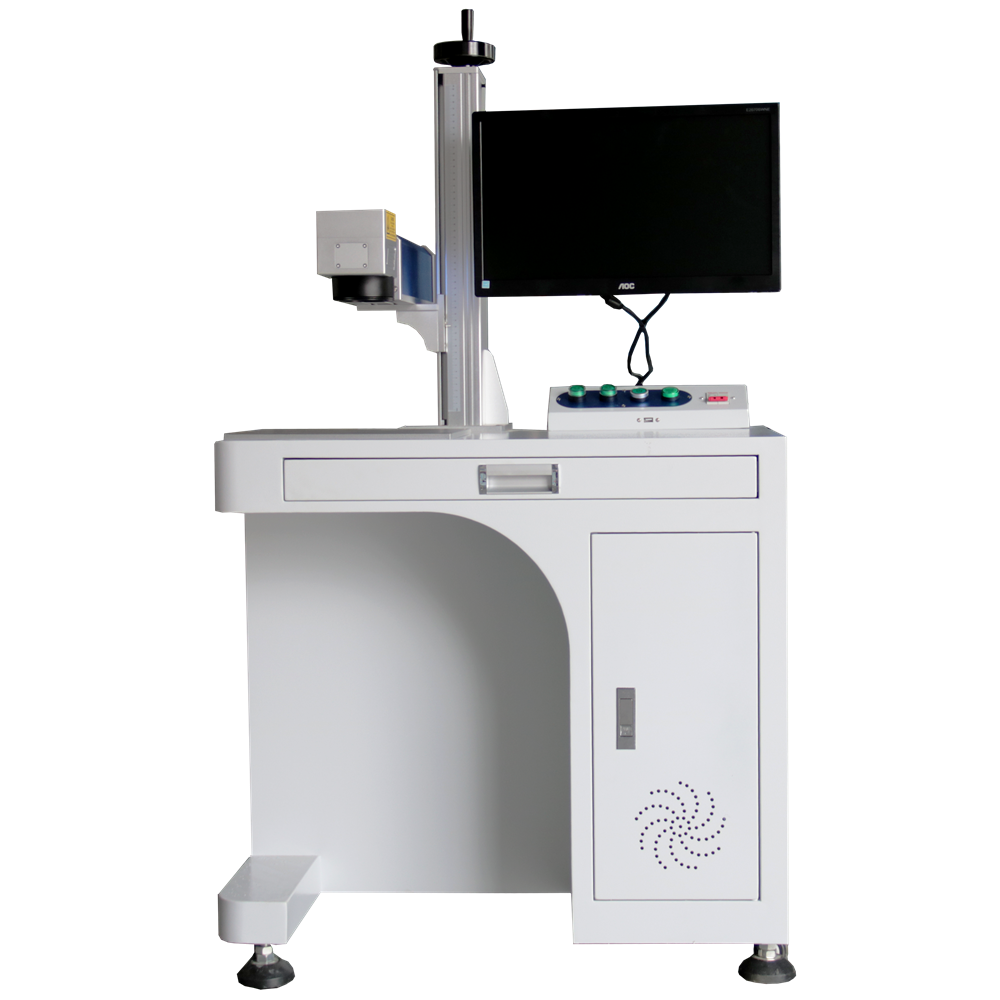
The laser marking machine can adapt to many materials for marking processing, of which the laser and high-speed scanning galvanometer are indispensable. In order to have a high-quality laser beam and achieve accurate marking when marking, it is necessary to ensure the accuracy of laser marking. This requires us to adjust its optical path system to a satisfactory level before the laser marking machine works. Status, the following steps can help adjust the optical path of the laser marking machine:
1. Turn on the chiller in the normal order, pay attention to the need to turn on the chiller, and wait for the real-time temperature of the chiller to be consistent with the set temperature before proceeding to the next step.
2. Remove the protective cover of the laser marking machine. Be careful not to rub it. Turn off the laser and Q switch power according to the normal shutdown method.
3. Observe the red light output and feedback at this time with a dimming frequency multiplier or white paper. It is recommended to have round and bright light spots on the red light indicating screen. If there is more than one red spot, adjust the red light indicator to the adjusting nut of the beam expander in turn until the requirements are met.

4. Turn on the laser power and adjust the current to 14-15 A. It is recommended not to exceed 15 A. Use a frequency multiplier to observe whether the laser is a round to bright spot before the laser output.
5. Place the frequency doubler behind the beam expander and observe if there is laser output. If not, slowly adjust the adjusting nut, then adjust in turn until there are points that are bright to round.
6. Slowly reduce the current of the laser marking machine, observe the intensity of the frequency doubling point, and then adjust the adjustment nut to the bright to round position.
7. Repeat step 6 at least 4-6 times to obtain round and bright light spots. At this time, the current should be less than 10A, preferably not more than 12A.
8. Place the frequency doubler on the workbench. At this time, the working table of the laser marking machine should be the focusing position (about 22-22.5cm), observe the intensity of the laser spot, or slightly increase the current adjustment nut until a strong spot is obtained. Please note that this step is fine-tuned.
9. Turn on the Q switch and test. (The test parameters are normal marking parameters.) If the light intensity meets the requirements, the adjustment will be completed.
The above are the common optical path adjustment steps for laser marking machines. After purchasing laser equipment, you should always pay attention to cleaning and maintenance. Do not tamper with internal accessories. If you have any questions, you can consult after-sales staff!